How to Transfer an Embroidery Pattern to Fabric: 4 Reliable Methods
Four ways to get a design onto fabric: tracing over a light source, water-soluble stabilizer, transfer paper, and heat-transfer pencil, with advice on which suits light, dark, and thick fabric.
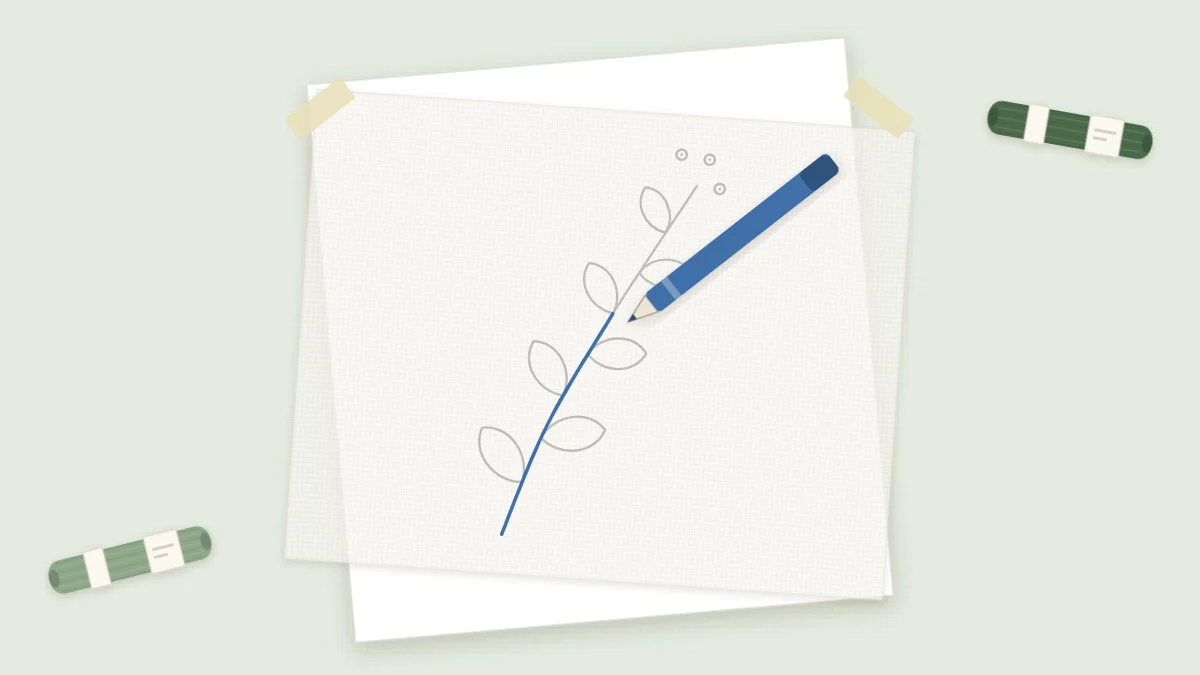
The right transfer method depends on two things: whether you can see through the fabric, and whether the marks need to disappear afterward. Light cotton and linen can simply be traced. Dark, thick, or stretchy fabrics need a method that puts the design on top of the surface instead. Here are four reliable ways to do it, and how to choose between them.
The Four Methods at a Glance
| Method | Best for | Marks | Main drawback |
|---|---|---|---|
| Tracing over a light source | Light, thin to medium fabric | Depend on the pen; water-soluble pens rinse out | Does not work on dark or thick fabric |
| Water-soluble stabilizer | Dark fabric, knits, denim, felt, detailed designs | None on the fabric; the sheet dissolves | The piece must be soaked at the end |
| Transfer (carbon) paper | Dark or thick woven fabric with a smooth surface | Usually brush or wash away; check the packaging | Lines can smudge or fade while you work |
| Heat-transfer pencil or pen | Light fabric, repeated copies of one design | Usually permanent | Design must be reversed; lines must be fully covered |
Before You Start: Center the Design
Whichever method you use, find the middle of the fabric first.
- Press the fabric so it is flat and free of creases.
- Fold it in half, then in half again, and pinch the folded corner lightly. Unfold it. The creases cross at the center.
- Mark the center of the paper pattern the same way, or draw a small cross in the middle of the design.
- Line up the two centers, with the fabric threads running straight up and down, not at an angle.
Check that the fabric extends at least 2 in (5 cm) beyond the design on every side, so there is enough to grip in the hoop. The embroidery fabric guide explains how to cut the square and find the grain.
Method 1: Tracing Against a Window or Light Source
This is the simplest method and needs no special supplies beyond a marking pen.
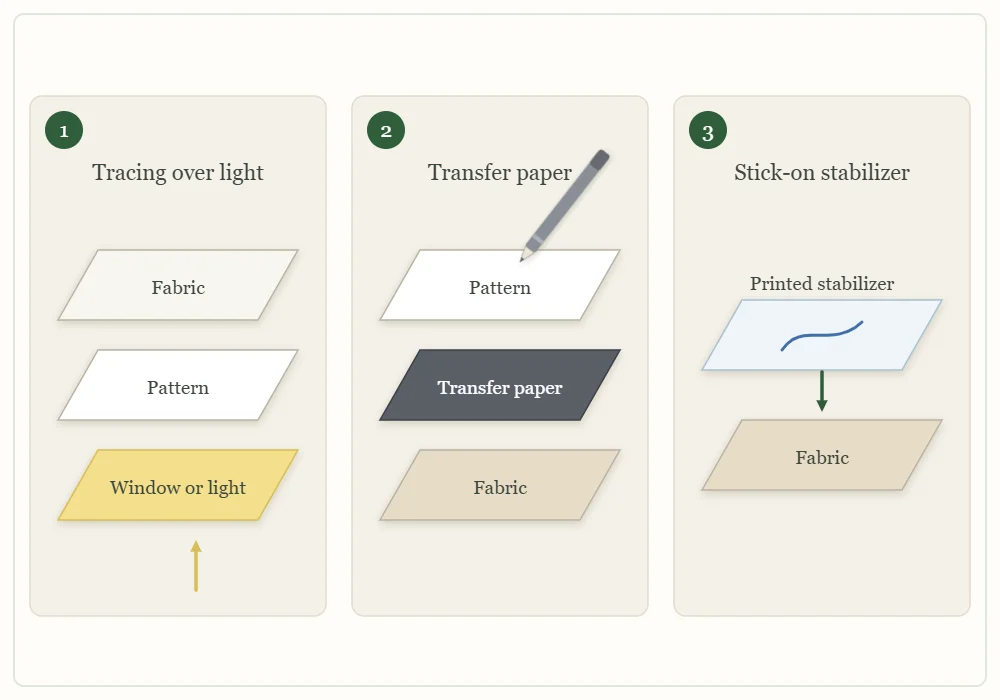
- Tape the printed pattern to a bright window, a light pad, or a glass table with a lamp underneath.
- Tape the fabric over it, centered and smooth but not stretched.
- Trace the lines with light, steady strokes. Do not press hard or go over a line twice, since thick lines are harder to cover with stitches.
Tracing works well on white, cream, and pale fabrics. On natural linen the lines are fainter but usually still visible. If you cannot see the design clearly through the fabric, switch to one of the methods below rather than guessing.
Method 2: Water-Soluble Stabilizer (Stick-and-Stitch)
This is a thin sheet with a sticky back that dissolves in water. The design goes on the sheet, not on the fabric.
- Trace the pattern onto the sheet, or print it if the sheet is made for a home printer.
- Cut around the design, leaving a small margin.
- Peel off the backing and smooth the sheet onto the fabric.
- Hoop the fabric and stitch through both layers.
- When the stitching is finished, soak the piece in lukewarm water until the sheet dissolves, rinse well, and dry it flat.
It is the most dependable choice for dark fabric, as in the moon and stars pattern on navy cotton, and for stretchy garments, where it also steadies the fabric. See how to embroider on clothing for that use. The needle can feel slightly sticky as it passes through the sheet; wiping it now and then helps. Rinse thoroughly, because leftover residue dries stiff.
Method 3: Transfer or Carbon Paper
Dressmaker’s transfer paper has a colored coating on one side that moves onto fabric under pressure. It comes in light colors for dark fabric and dark colors for light fabric.
- Lay the fabric right side up on a hard, smooth surface.
- Place the transfer paper on top, colored side down.
- Place the pattern on top of that and tape or pin everything so it cannot shift.
- Trace firmly over each line with a stylus, an empty ballpoint pen, or a knitting needle.
- Lift one corner to check the lines before taking the layers apart.
The lines sit on the surface and can rub away as you handle the fabric, so this method suits designs you will finish within a few sessions. It works poorly on textured or fuzzy fabric such as felt.
Method 4: Heat-Transfer Pencil or Pen
A heat-transfer pencil or pen is used on paper, not fabric. You draw the design on plain paper, place the paper face down on the fabric, and press with a hot, dry iron. The heat moves the lines onto the cloth.
Two things matter here. First, the design comes out as a mirror image, so trace it onto the back of the printout before ironing. This is essential for lettering. Second, the lines are usually permanent, so every one of them has to be covered by stitching. Keep them thin, and press the iron straight down without sliding so the image does not blur.
Which Marks Wash Out and Which Stay
- Water-soluble pens rinse out in cool water. Rinse before pressing with an iron, since heat can set some inks.
- Air-erasable pens fade on their own, often within a day or two. They suit small designs you will finish quickly.
- Heat-erasable pens vanish under an iron, but the marks can leave a faint trace or reappear when the fabric gets cold.
- Chalk pencils and transfer paper usually brush or wash away, though results vary by product.
- Ordinary graphite pencil may not wash out completely. Use a sharp point, draw very lightly, and plan to cover the line.
- Heat-transfer pencils and pens should be treated as permanent.
Watch out
Test every marking tool on a scrap of the same fabric first. Draw a line, let it sit for a while, then remove it the way the packaging says. If any shadow remains on the scrap, it will remain on the finished piece.
Choosing by Fabric
- Light, thin to medium cotton or linen: trace over a light source.
- Dark fabric: water-soluble stabilizer, or light-colored transfer paper on a smooth weave.
- Thick fabric such as denim or canvas: stabilizer or transfer paper, since light will not pass through.
- Felt and knits: stabilizer. Pens drag on these surfaces and transfer paper does not mark them cleanly.
Tip
The pattern outlines on this site can be printed or traced from the screen and scaled up or down to fit your hoop. Aim for a design a little smaller than the inner ring so no line ends up under the wood.
After the Stitching Is Done
Remove the marks before the piece is framed. Rinse or soak it as the marking tool requires, press out the water in a towel without wringing, and let it dry flat. Then press it face down on a folded towel so the stitches keep their height. The full process, including gathering the fabric behind the hoop, is covered in how to finish the back of an embroidery hoop.
Frequently asked questions
What is the easiest way to transfer an embroidery pattern?
On light fabric, tape the pattern to a bright window or light pad, tape the fabric over it, and trace the lines with a water-soluble pen.
How do I transfer a pattern onto dark fabric?
Use a stick-on water-soluble stabilizer with the design drawn or printed on it, or light-colored transfer paper on a smooth woven fabric. Tracing over a light source does not work because light cannot pass through.
Do embroidery transfer marks wash out?
Water-soluble pens rinse out in cool water and air-erasable pens fade on their own. Heat-transfer pencils and pens should be treated as permanent, and ordinary pencil may not wash out completely.
Why should I test a marking pen on a scrap first?
Inks behave differently on different fabrics. If a faint shadow remains on the scrap after you remove the mark, it will also remain on the finished piece.