How to Start Hand Embroidery: A Beginner’s Guide
The six tools you need for a first hoop, how to cut, divide and thread floss, how to start and end a thread, and what to stitch first.
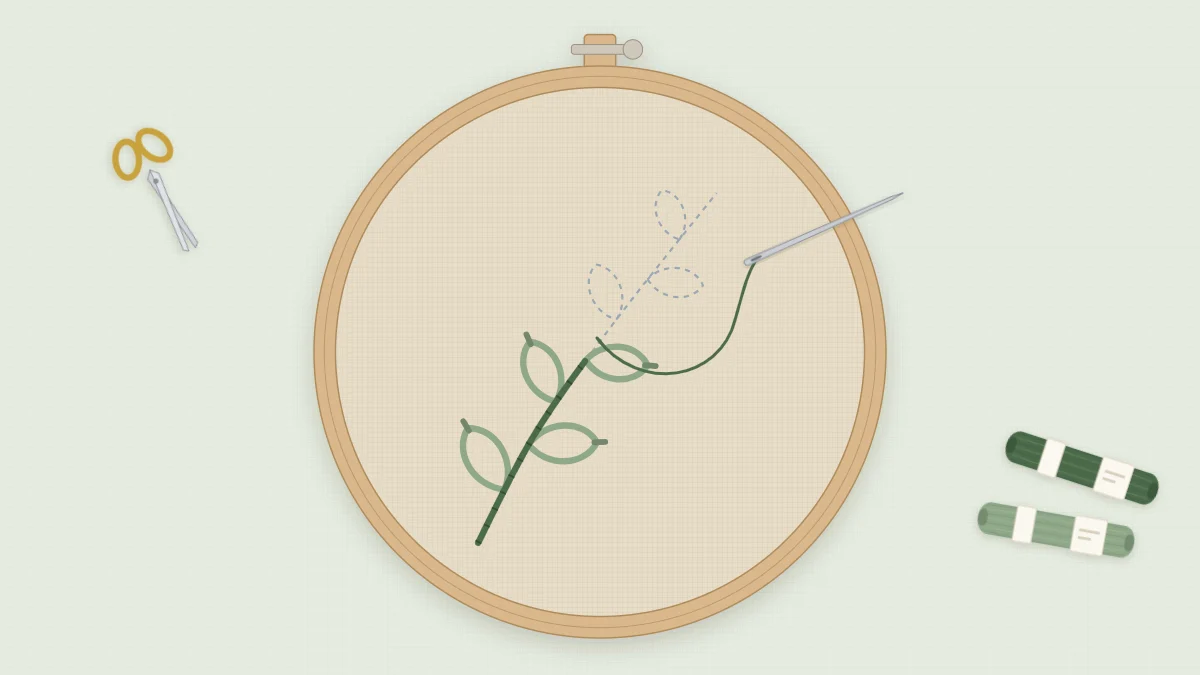
Hand embroidery needs very little to get going: six inexpensive tools, one piece of plain fabric, and a free evening. Nothing has to plug in, and almost every mistake can be snipped out and stitched again. This guide walks through what to buy, how to set up, how to start and end a thread properly, and what to stitch first.
What You Need for a First Project
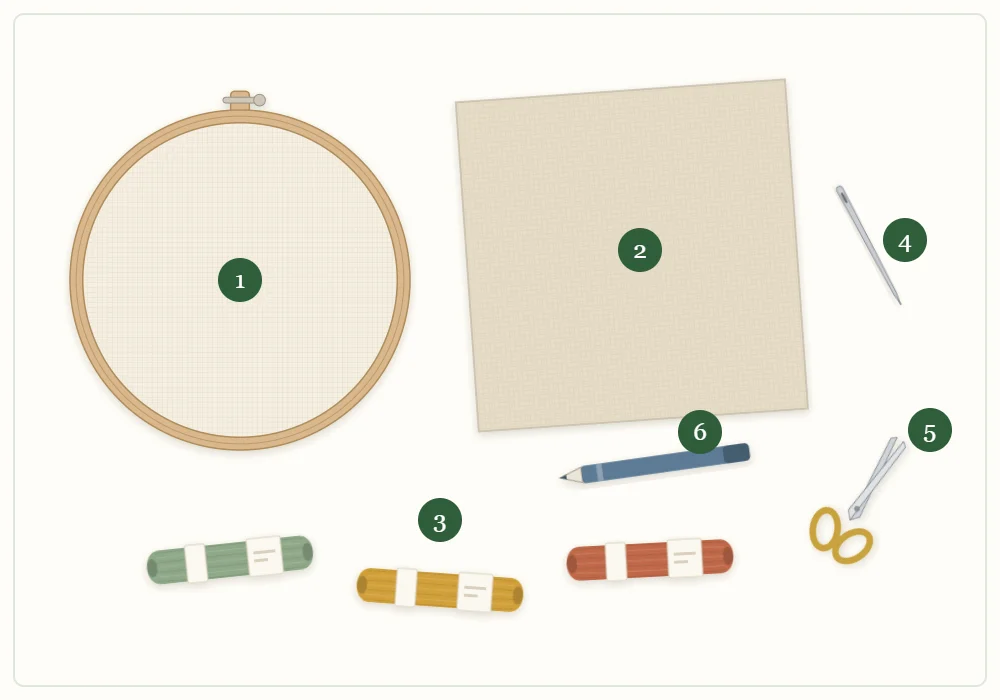
- A hoop. A 4-inch or 5-inch (10 or 13 cm) wooden or bamboo hoop is easy to hold and big enough for a first design. The embroidery hoop guide covers sizes and how to get the fabric tight.
- A fabric square. Plain medium-weight cotton or linen with no stretch, in a light color so you can trace through it. Cut it about 2 in (5 cm) larger than the hoop on every side.
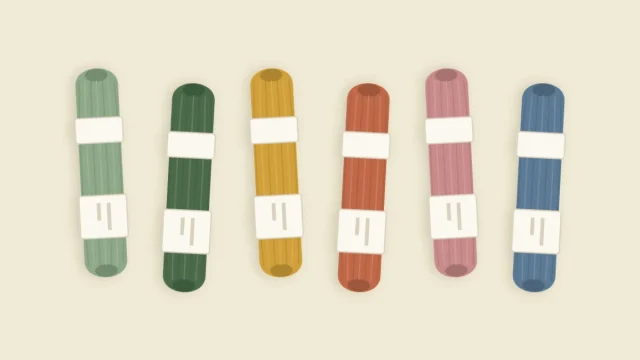
- Floss. Three skeins of six-strand cotton floss are enough: two greens and one accent such as mustard. Six-strand floss can be divided, which is how you control line thickness.
- An embroidery needle. Embroidery needles have a sharp point and a long eye. A mixed pack lets you pick a medium one for three strands and a finer one for one or two.
- Small sharp scissors. Fine points make clean thread ends, which thread far more easily than frayed ones.
- A marking pen. A water-soluble pen made for fabric draws the design and rinses out afterward. Always test it on a scrap of your fabric first.
That is the full list. Thimbles, needle threaders, and floss organizers are helpful later, but none of them is needed for a first hoop.
Set Up the Fabric
Draw or trace the design on the fabric before it goes in the hoop, since a flat surface is much easier to mark. A light fabric held against a bright window lets you trace a printed design directly. The guide to transferring a pattern to fabric explains this and three other methods.
Then loosen the hoop screw, lay the fabric over the inner ring, press the outer ring down over it, and tighten. Pull the fabric gently at the edges until it is smooth and firm, then tighten the screw the rest of the way. Tap it with a fingertip. It should feel like a small drum.
Cut and Thread the Floss
Cut a piece of floss about as long as your forearm, roughly 18 in (45 cm). It feels short, but longer thread tangles, twists, and wears thin from being pulled through the fabric so many times.
Next, divide it. Hold the cut length near one end, pinch a single strand, and pull it straight up and out while the rest bunches below your fingers. Repeat for each strand you need, then lay the strands together again. Pulling them one at a time is what keeps them from knotting.
How Many Strands
| Strands | Line you get | Use it for |
|---|---|---|
| 1 or 2 | Fine and delicate | Small details, tiny lettering, thin outlines |
| 3 | Medium, clearly visible | Most outlines, leaves, and knots in beginner patterns |
| 6 | Bold and raised | Chunky lines and textured stitches |
Three strands is a good default while you are learning. The embroidery thread guide goes deeper into strand counts and needle sizes.
To thread the needle, trim the end cleanly, flatten it between thumb and forefinger so only a sliver shows, and push the eye of the needle down onto it. Pull through about a third of the length as a tail and leave it loose. The thread is not doubled.
How to Start and End a Thread
The simple knot
Tie a small knot at the long end, come up from the back, and begin stitching. This is fine for hoop art that will hang on a wall, and it is the easiest way to start on day one.
The waste knot
For a flatter back, knot the end and take the needle down from the front, about 2 in (5 cm) away from your starting point and along the line you are about to stitch. Come up at the start and work toward the knot. Your stitches trap the thread on the back as they pass over it. When you reach the knot, snip it off close to the fabric.
Ending
Stop when about 3 in (8 cm) of thread is left. Turn the hoop over, slide the needle under the backs of three or four nearby stitches, pull through, and trim. On later threads you can start the same way, by weaving under existing stitches, and skip the knot altogether.
Watch out
Do not carry a dark thread across a wide unstitched gap on the back of light fabric. It can show through as a shadow on the front. End the thread and start again instead.
A First Practice Session
Before starting a pattern, give one fabric square over to practice. Plan on an hour or so.
- Draw four straight lines and one gentle curve with the marking pen, each about 3 in (8 cm) long.
- Stitch the first line in running stitch: up, down, up, down, with stitches and gaps the same length.
- Stitch the second and third lines in backstitch. Aim for stitches about as long as a grain of rice.
- Stitch the curve in backstitch too, and notice that shorter stitches make a smoother curve.
- Along the last line, make a row of French knots and a few lazy daisy loops. Both feel awkward for the first five or six tries and then settle.
Step-by-step needle positions for all of these are in the eight basic embroidery stitches.
Tip
If the thread starts to twist and kink, let the needle hang freely from the fabric for a few seconds. It unwinds itself.
Habits Worth Building Early
- Work each stitch in two movements, down through the fabric and then up, rather than scooping the needle through in one. The fabric stays tight and the stitches stay even.
- Pull each stitch until it lies flat, and no further. Puckered fabric means the thread is too tight.
- Check the back every few minutes for loops and tangles. They are easy to fix right away and hard to fix ten stitches later.
- Take the fabric out of the hoop when you stop for the day, so the ring does not press a crease into it.
Where to Go Next
A sensible learning path keeps each new piece only slightly harder than the last:
- Practice the line stitches, then lazy daisy and French knots, on your scrap square.
- Stitch the easy leaf sprig pattern. It uses exactly three stitches, backstitch, lazy daisy, and French knots, in a 4-inch (10 cm) hoop.
- Try a second small design that adds one new stitch, such as running stitch, chain stitch, or stem stitch.
- Move on to satin stitch once your tension feels steady, since smooth fills take the most control.
- Learn to finish the back of a hoop so a piece you like can go on the wall.
Keep the practice square. Looking back at those first wobbly lines after three or four finished hoops is the clearest measure of how far your hands have come.
Frequently asked questions
What do I need to start hand embroidery?
A small hoop, a square of plain cotton or linen, a few skeins of six-strand cotton floss, an embroidery needle, small sharp scissors, and a water-soluble pen for marking the design.
How long should I cut embroidery floss?
About the length of your forearm, roughly 18 in (45 cm). Longer pieces tangle, twist, and wear thin before you finish using them.
Is it okay to start embroidery with a knot?
Yes. A small knot on the back is fine for hoop art that will hang on a wall. For a flatter back, use a waste knot or weave the thread under existing stitches instead.
How many strands of floss should a beginner use?
Three strands is a good default for outlines, leaves, and knots. Use one or two strands for fine details and all six for bold, raised lines.